Please follow MyFireTM guidelines to get the best out of your MyFireTM unit every time and enjoy using your camp fire pit as much as we do.
Click on the tabs below to open the guidelines.
Click on the images to enlarge them for a more detailed view
You can also open and/or download the following documents here:
MyFireTM brochure 2022
MyFireTM Assembly Guidelines 0519
MyFireTM Operating Safety Guidelines 2022
ASSEMBLING MYFIRETM GUIDELINES
STEP 1
Lay out the five panels, back panel to the rear, side panels to each side and bottom plus base panel and grate at the front as shown on the picture.

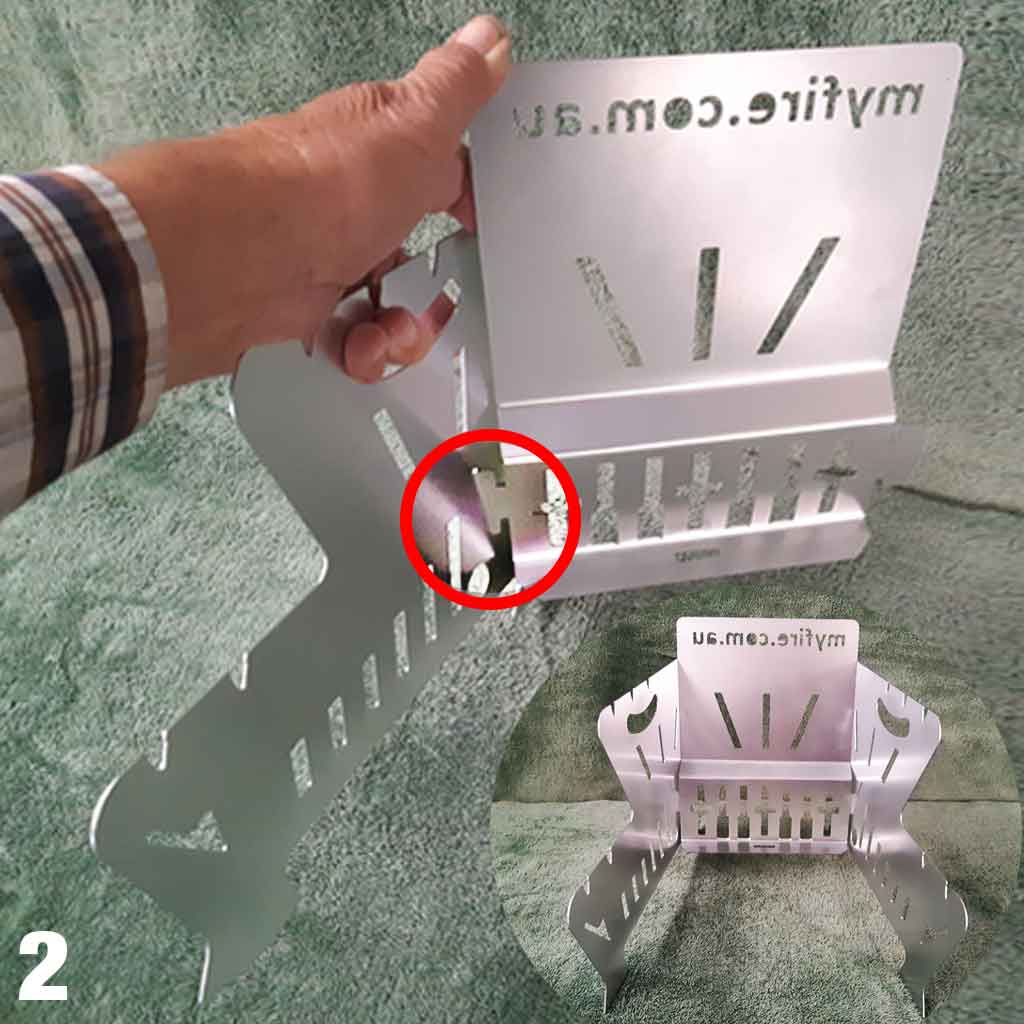
STEPS 2
Slide the “T” lugs of the back panel, into the rear arrow-head slots, of each side panel.
Ensure the “T” lugs drop all the way down before tilting backwards, to lock it into place.
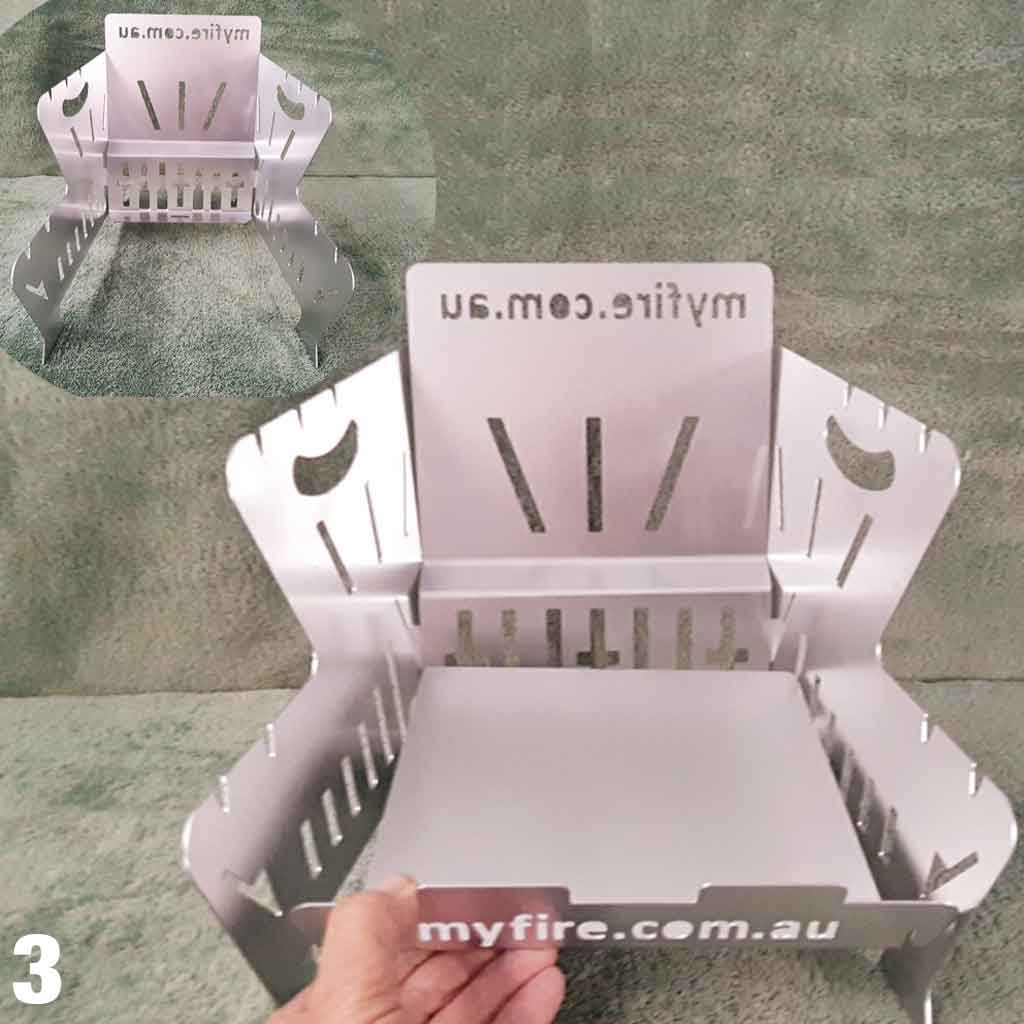
STEP 3
In a similar way insert the “C” lugs of the base panel’s into the other (front) arrow-head slots. Ensure they also drop down all the way.
Then tilt the panel to the rear until it comes to rest on the back panel’s lower flange and the tab interlocks with slot.
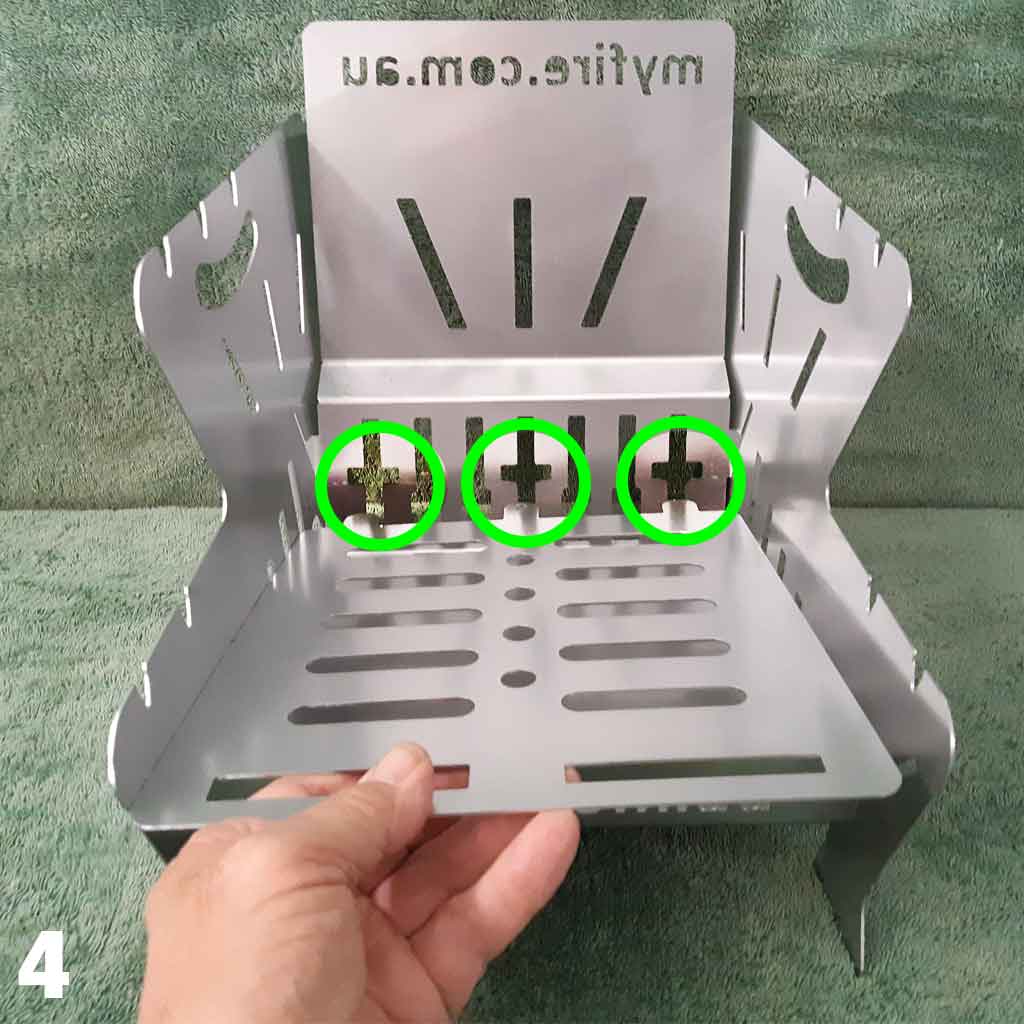
STEP 4
Slide the grate panel into the three rear panel slots.
Gently lay it to rest. It locks very easily with the front of the base panel.
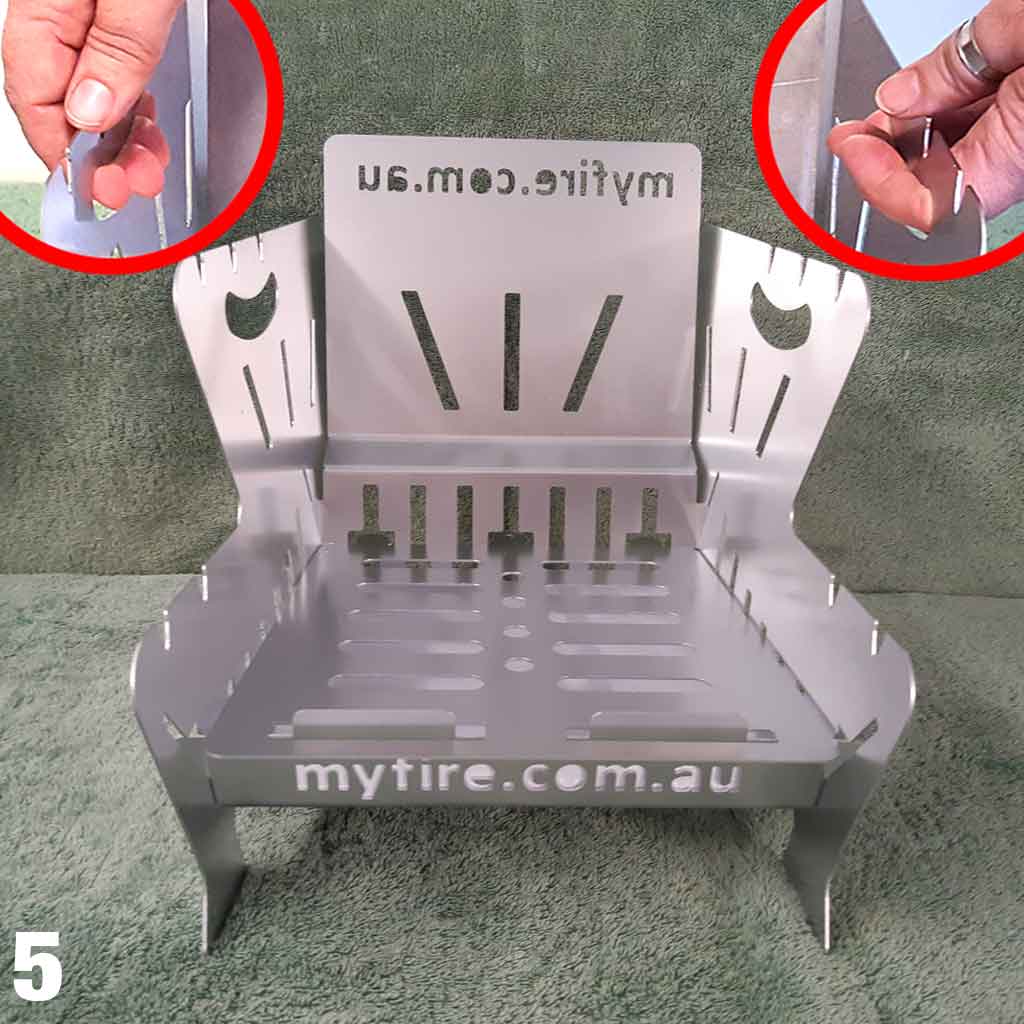
STEP 5
Use the side panel hand holds, to place the camp fire into the holding tray.
We recommend to always use both handles when lifting MyFire, whether before use or after it has cooled down.
(See operating and cleaning guidelines below)
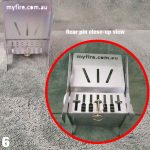
STEP 6
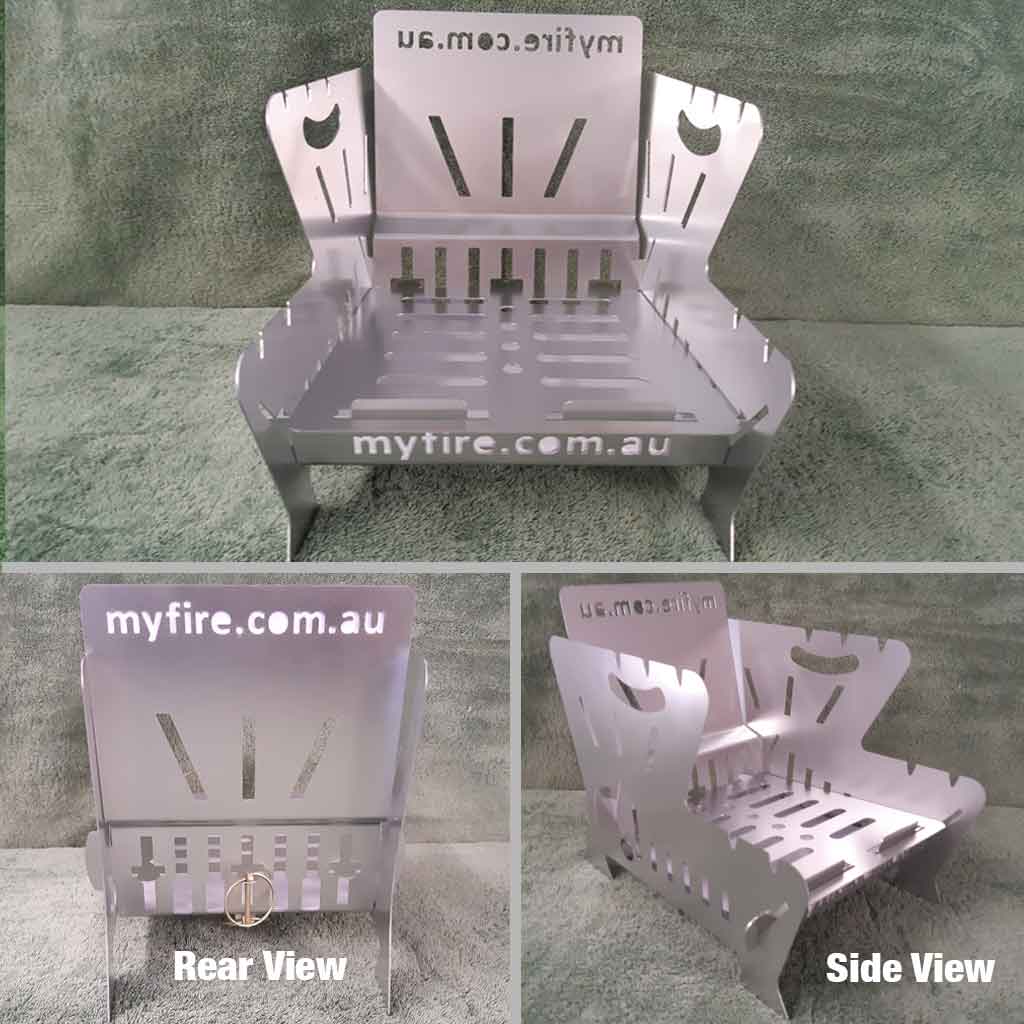
Some users have chosen to further secure the assembled unit together.
This is easily achieved by inserting Lynch pins into the tabs of both the base plate and the grate. This allows you to hold all components together when shaking out the ashes and coals during clean up; also to lift, carry, turn the cold assembled unit upside down etc, holding it by any of its parts
See the close-up image and the 360 degree views of the assembled MyFire kit.
OPERATING MYFIRETM GUIDELINES
Getting A Good Fire With MyFireTM
- Place unit where needed, preferably on flat ground or grass.
(if not perfectly flat, safely prop up the low side with some wood). - Fill tray with water.
Keep water in the tray because the evaporation of water will keep the bottom of the tray cold enough to avoid excessive scorching of the grass. - Light MyFire with paper, or firelighters, and small dry twigs or sticks.
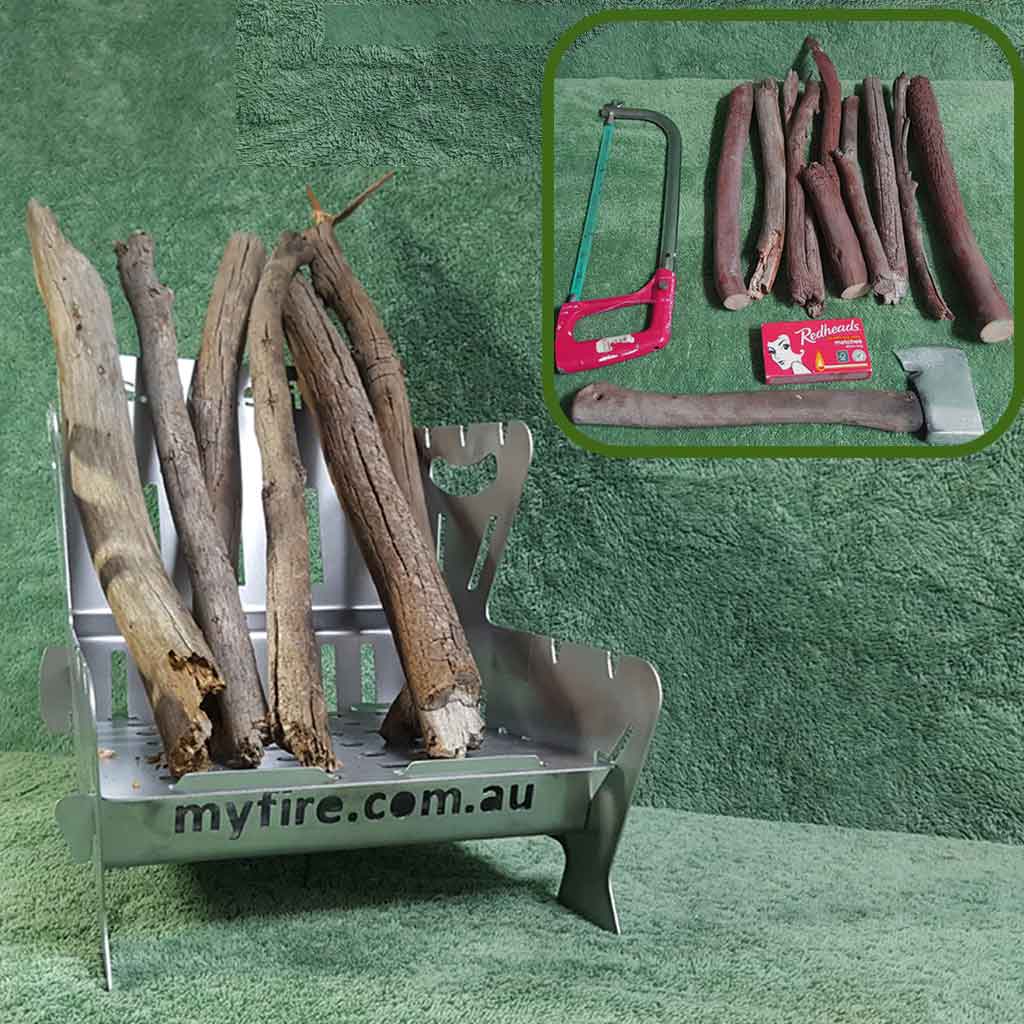
**Do not use flammable liquids.** - Ideal wood size is small thickness rather than large. Ideal thickness is pencil to hammer handle thickness. (Thicker wood needs smalls to maintain hot flames).
Lengths should be up to 40cm. - Once the fire is alight, place the longer pieces of wood upright (leave space for air and flames) and leaning against the back panel.
This is ideal because it allows for maximum radiant heat to come from the flames. - So keep two or three pieces flaming at all times, because when new wood is added, it catches alight quickly reducing smoke generation.
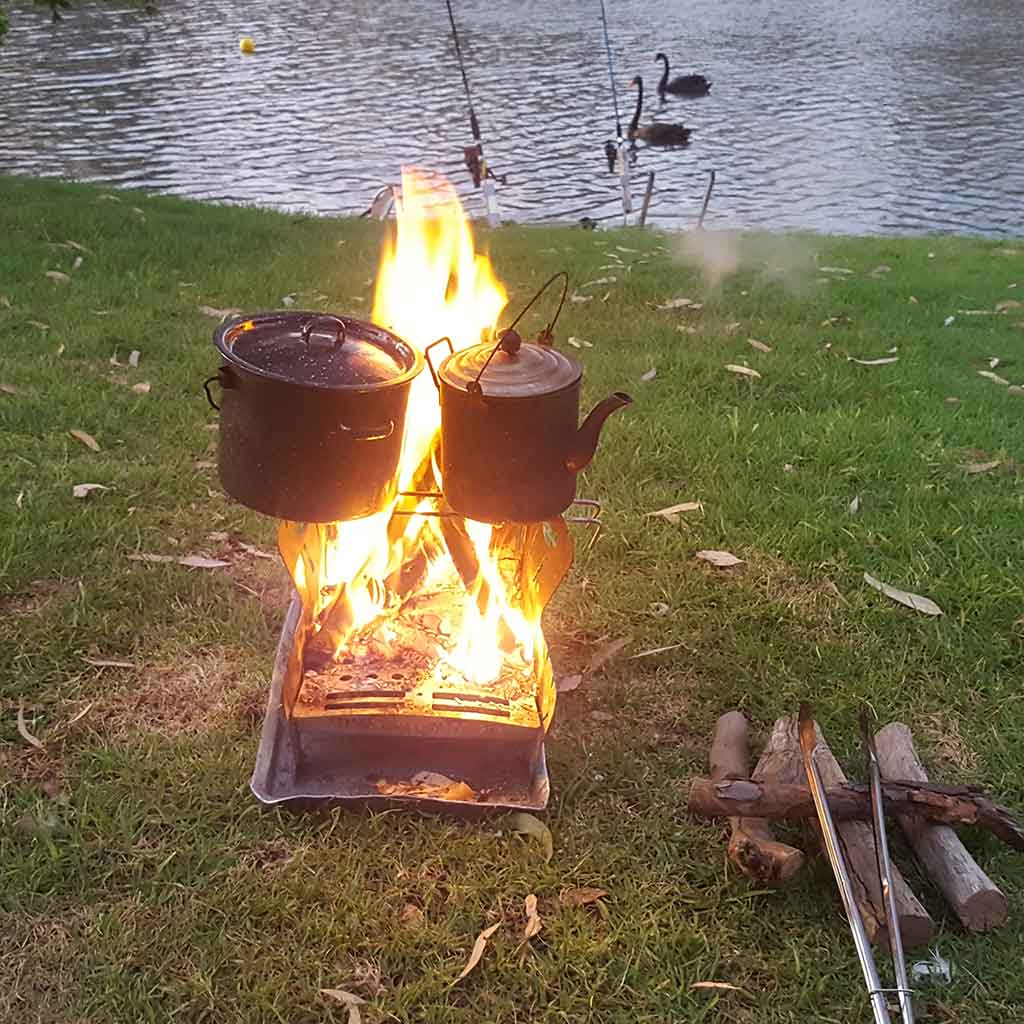
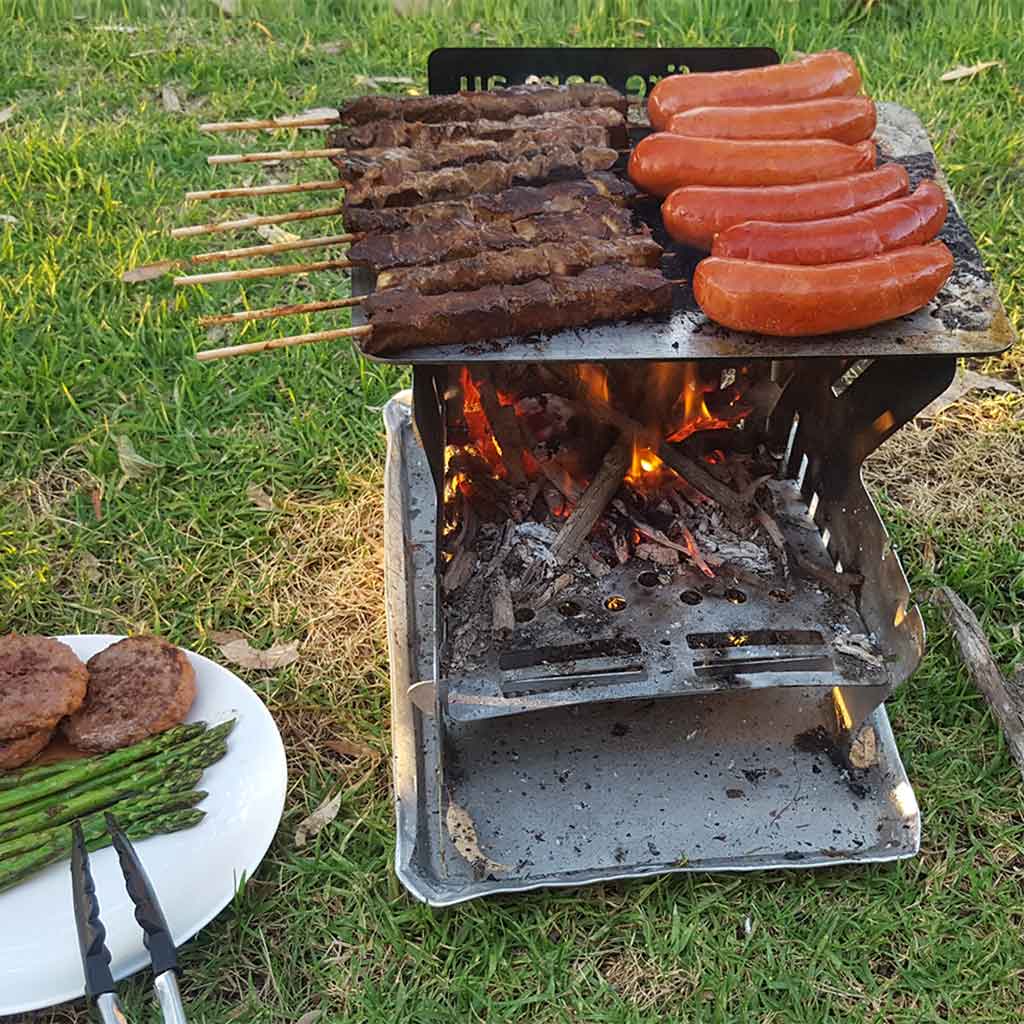
SMART TIP: maintain a continuously flaming fire – small for cooking and – larger for just enjoying the cosiness and fireside chats.
Manoeuvring MyFire Easily And Safely
Using the hook of a cross bar, or similar, connected to the tray only and tow the unit about to a new location. (Take care and let the fire die down somewhat before attempting to move it).
Look After The Grass
Keep some water in the tray because the evaporation of water will keep the bottom of the tray cold enough to avoid scorching the grass.
If any embers fall outside the tray, use tongs or similar to put them back in the fire.
SMART TIP: An easy way to maintain the water level is to upturn several water filled drink cans into the tray.
MAINTENANCE/CLEANING MYFIRETM GUIDELINES
Pulling MyFire Apart
Wait until the fire is out, or quench with water, and the metal is safe to touch.
Remove the grate first. Then, first lift up the base slightly to disengage it from the back panel. Tilt the back panel forward.
Lift slightly and slide out the ‘T’ lugs from each side panel.
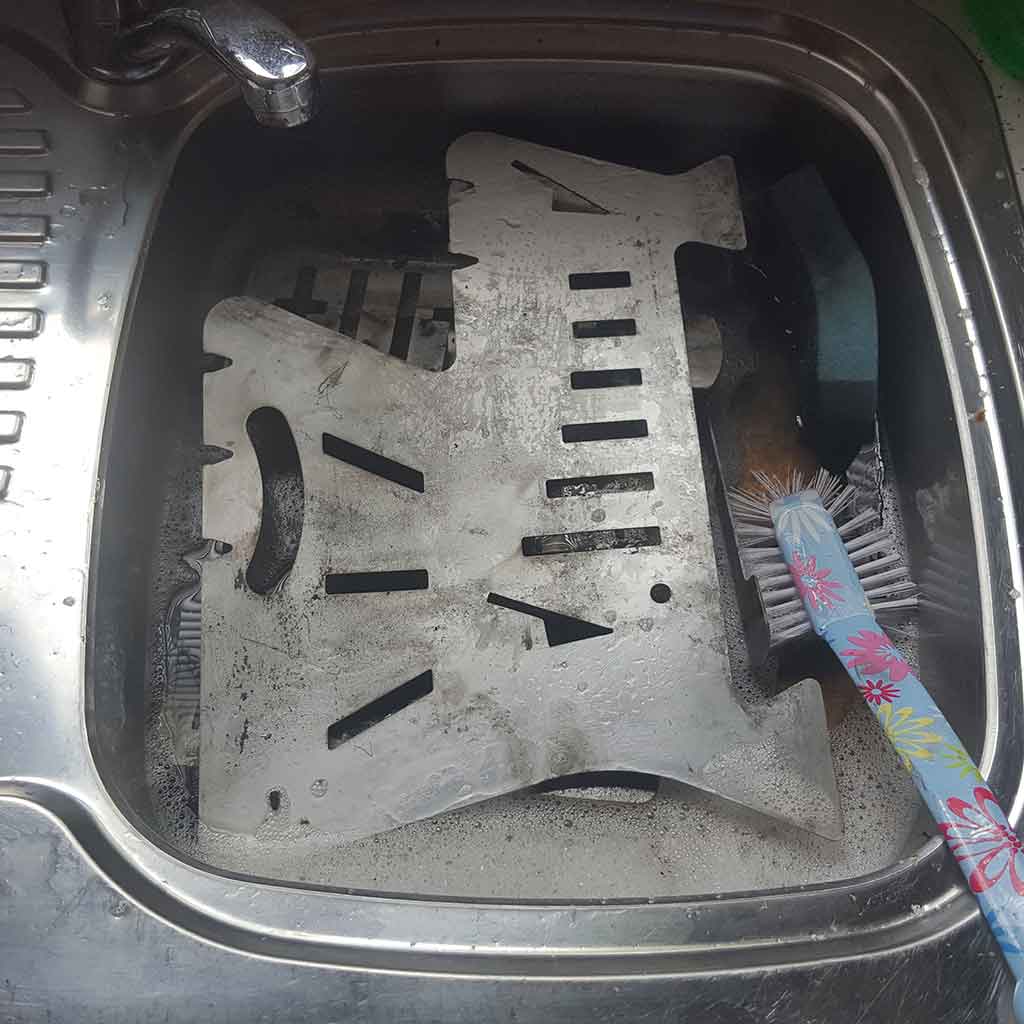
Cleaning MyFire
Lift grate first scraping residue onto the base.
Lift the sides and scrape or shake residue into the holding tray for responsible disposal.
Please act responsibly by ensuring that all ash and coals are wetted down to prevent them reigniting after disposal.
SMART TIP: A clean start is advisable for each camp fire time! Because that way, the fire doesn’t become smoky due to blocked air slots.
Maintenance Note:
DISTORTION IS NORMAL. This design can cope with some distortion but minor straightening will be needed from time to time.
FIRE SAFETY GUIDELINES
- Danger – all parts become very hot during use – so do not touch until cool.
TIP: It is safer to use this fire in the holding tray (preferably with water in the tray). - Keep fire area clear for 10 feet (3M)
- NEVER use flammable liquids to light the fire.
- Use outdoors ONLY and NOT on designated fire danger days. Act responsibly at all times.
In particular, please refer to the Fire Authority web site Guidelines in your locality regarding what you can and can’t do during Fire Danger Periods and on Total Fire Ban Days. See here “www.cfa.vic.gov.au/warnings-restrictions/can” It is the responsibility of every individual to ensure compliance with the fire restriction laws (severe penalties apply). - Keep people with flammable clothes well clear of the flames.
- Keep small children and animals away from the fire.
- Do NOT modify the design in any way.
- NEVER leave a fire unattended and ALWAYS ensure fire and embers are doused with water before leaving.